
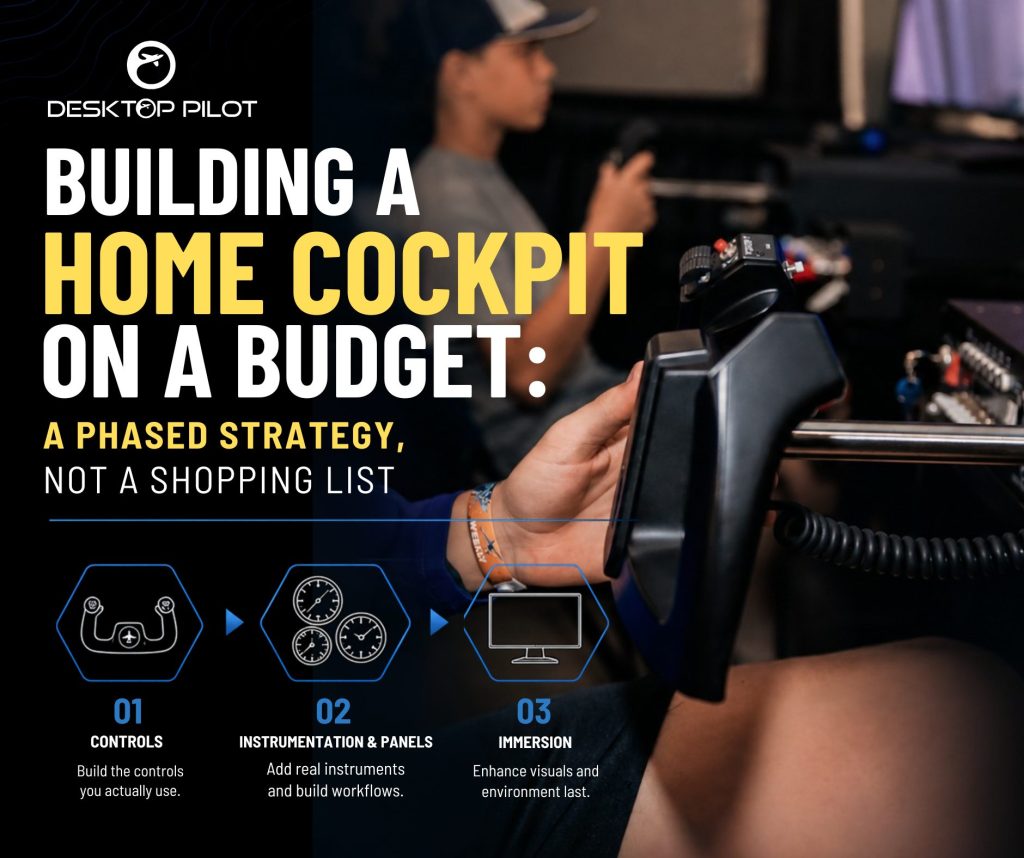
Building a Home Cockpit on a Budget: A Phased Strategy, Not a Shopping List
Most advice on building a home cockpit reads like a shopping list: buy this yoke, add these pedals, get this monitor setup. The problem with that approach is that it treats every purchase as equally urgent, when in practice, the order you buy things in matters just as much as what you buy.
A phased strategy gets you more usable training value per dollar than buying everything at once. It also helps you avoid the common trap of overspending on visual immersion before the fundamentals are solid.
Phase One: Build the Controls You Actually Use
Before anything else, prioritize the hardware you physically touch during a normal cockpit flow. This is where control feel lives, and control feel is the foundation every other skill builds on top of.
For many home cockpit builders, the best place to start is with the hardware needed to move through a realistic “dark and cold” startup through the “before takeoff” checklist. These are the products that help turn a simulator from something you watch into something you operate.
Desktop Pilot recommends starting with core cockpit controls such as:
Ignition Panel
Use this to operate your lights, fuel pump, and magnetos during startup and checklist flow.
Parking Brake
Helps you keep the aircraft stationary until you are ready to move.
Throttle Quadrant
Allows you to adjust throttle and mixture before engine start and throughout flight.
Flaps Panel
Supports proper flap setting and checklist practice before takeoff and landing.
Trim Wheel
Helps reinforce one of the most important pre-takeoff habits: making sure trim is properly set before departure.
Fuel Tank Selector
Allows you to practice selecting “Both” and confirming fuel flow as part of a realistic preflight and startup sequence.
Hobbs Meter
Especially useful for beginners and frequent sim users, the Hobbs Meter works like it does in a real aircraft, tracking time when the engine is on. It gives you a clear picture of how many hours you are spending in the simulator each day, week, month, or year, which makes it a practical way to understand your return on investment and track your training time.
Magnetic Compass
The Magnetic Compass adds realism, but it is also a valuable training tool. Practicing compass turns and timed turns in the simulator helps pilots experience natural magnetic compass errors and understand why the compass behaves differently unless the aircraft is flying straight and level. Building proficiency with compass reference before a checkride can add confidence during instrument training.
For additional realism, you may also add an ELT Switch. It is present in the aircraft in real life, so including it in your sim setup helps complete the environment.
It is tempting to skip foundational controls early on to save money, but this is usually where the training value is strongest. A cheap or incomplete control setup can teach inconsistent habits, which is worse than no simulator at all because it works against the muscle memory you are trying to build.
Phase Two: Instrumentation and Panels
Once your control foundation is solid, the next highest-value addition is realistic instrumentation and panels.
This is where the Desktop Pilot G1000 and backup instruments come into play. Dedicated avionics and instrument hardware help build checklist flows, instrument scans, avionics familiarity, and switch confidence. A pilot who can locate switches and move through a checklist without hunting around the screen gains more training value than someone who simply has a sharper visual display.
At this stage, the goal is not just to make the simulator look more like an aircraft. The goal is to make the workflow feel more like one.
Phase Three: Visual and Environmental Immersion
Only after control feel and instrumentation are solid does it make sense to invest heavily in the immersion layer: higher-resolution displays, wider fields of view, cockpit lighting, or other environmental upgrades.
These additions improve realism and enjoyment, which matters for long-term motivation, but they add comparatively less procedural training value than the first two phases. Buying this tier first is one of the most common budget mistakes because it is the most visually exciting, but not the most foundational.
Why Sequencing Beats Budget Size
A modest budget spent in the right order, controls first, instrumentation second, immersion third, produces a more capable pilot than a larger budget spent in the wrong order.
The goal of a home cockpit is not just to look like a real aircraft. It is to build the specific habits and skills that transfer to one. Those skills have a clear hierarchy of importance, and that hierarchy should guide your spending long before aesthetics do.
Desktop Pilot’s product lineup is designed to support this phased approach, from individual control hardware to full instrument panels and complete simulator solutions.
Explore where to start based on your training priorities, not just your wish list:
https://www.desktoppilot.com/